As long as I've had a shop I have always battled clutter. I read somewhere "A place for every thing and every thing in its place." Well, I didn't have enough places! My shop was a mess and I didn't see any way to make it better. It went on like this for years. I tried bringing in workbenches and tables. They just filled up with stuff. Then I still didn't have any place to work and now the mess was just up higher.
Finally I saw an ad for steel drawer units. The seller had worked on a crew remodeling a Lowes hardware store. You might remember they used to have steel drawers full of fasteners. This was back when they still pretended to be a hardware store - oh, wait, this isn't the place, Grant. Anyway, the seller wound up with eight of these drawer units. For some reason he was having a hard time selling them. I must have showed up on his lucky day - I bought all eight.
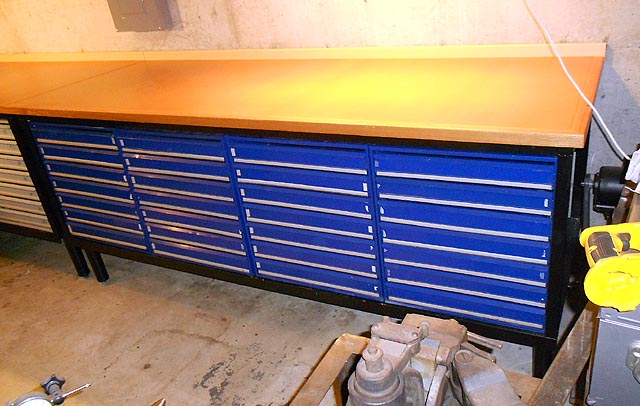
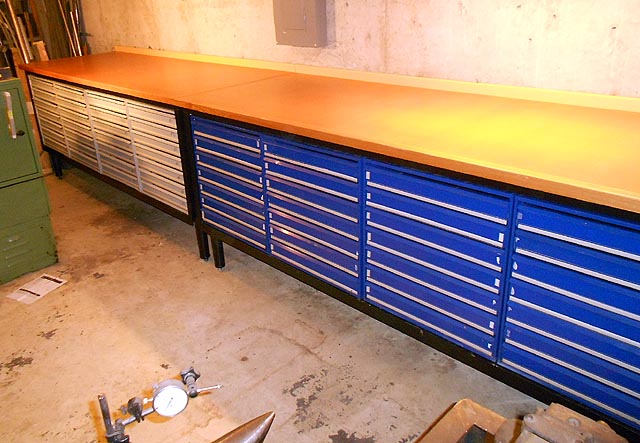
Each has seven drawers. Each drawer unit was about two feet wide, a tad over 25" tall, and a bit less than two feet deep. The drawers themselves are 3" deep. Half of the units had blue drawer fronts and half had off-white. I figured I'd build two benches and put them end to end, making in effect a single long workbench sixteen feet long and 34" wide. That would give me a whole lot more places to put things! The drawer units weren't perfect. There were some dented handles and a little bit of sheet metal to straighten and a lot of labels to remove. But I figured I'd take them, especially because they came at a really great price. The drawers roll on bearings and, loaded, roll very smoothly. They aren't perfect but they were a practical solution to my problem.
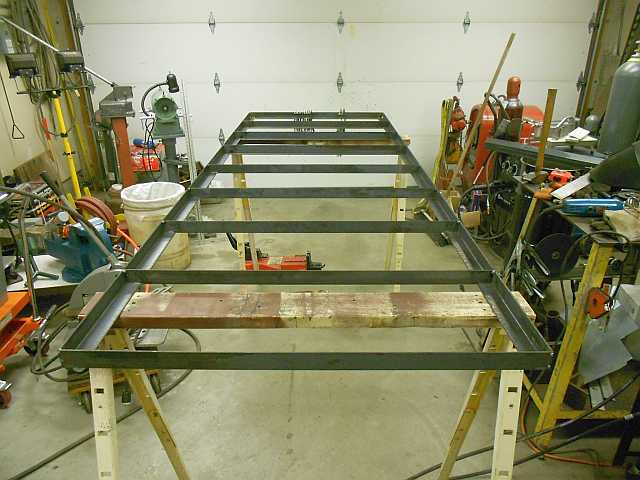
I chose to build the workbench frames from angle iron because that's something I'm familiar with. I leveled two sawhorses and used those to support the large frames.
One more design note: as you can see from the above picture, my shop is very cluttered. One thing I never knew what to do with was toolboxes and other things roughly that size - chain saw, floor jack. I had a lot of power tools in cases and those had no place. They certainly wouldn't fit into the new drawers and if I put them on top of the bench they'd still be clutter. My solution was to raise my workbench top height to 42" and leave 11" of space underneath to store such bulky items. A lot of people think 42" is too tall for a workbench. I'm about 6'2" tall and so far it hasn't been a problem for me, and I just love having all that stuff disappear under the benches! More on that later.
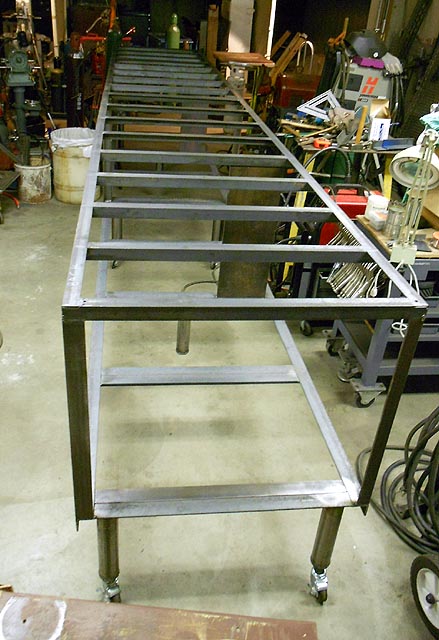
Anyway, I designed the benches with legs of 2" pipe with plates welded over the bottom ends. The plates were drilled and tapped. Once built, the workbenches proved unwieldy to move, so I temporarily screwed in casters with threaded stems. This let me roll the benches around easily. The casters were light duty, though, and wouldn't roll with the weight of the drawer units in. So I put the drawer units in at the end. Here's a picture of the workbenches up on casters, still unpainted.
One last design note: the top frame of each workbench, the part forming the flat top, was built from fairly light stock I believe it was 1.5x1/8" angle. I believed it would be strong enough, and I had a lot of it on hand so that's what I used. All of the rest was built from 2x1/4" angle, much stouter stuff. The pieces that hold up the drawer units have crossmembers made from two pieces of angle iron sistered together back to back, effectively making the vertical stiffener below 2x1/2", which I figured would be strong enough to take a lot of weight. I painted the benches with an exterior paint, which takes a long time to fully cure. I left the paint to cure for two months and went on one of our long car trips. I asked my buddy (a serious woodworker) to help me with the benchtops. He had me buy two layers of 3/4" MDF. He glued and screwed them together and then cut them to size. Then he milled oak edges and glued them all around the edges, with a backsplash at the back to keep things from rolling off. He also did the little things like sanding the oak trim to precisely match the MDF and routing nice radiuses on the edges. He let the top be wider than the steel benches by about 2" on each side, to leave room for clamping. Then he finished with several coats of something that dried clear and hard. He did all this work while I was gone on our car trip. That way both the metal paint and the finish on the wooden top would have a long time to get really dry.
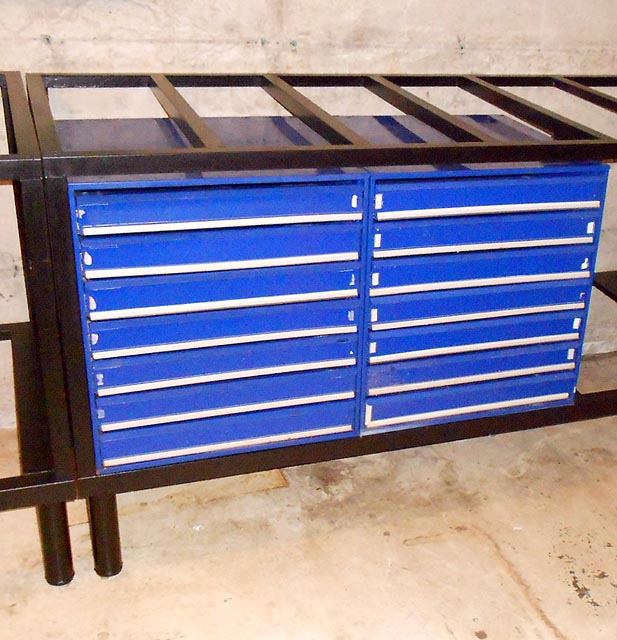
When I came back, I removed the casters and installed leveling feet and put the workbenches in place. To put the drawer units in, I removed all of the drawers, which made them light enough to lift in. I temporarily put in two of the drawer units just so I could see how they looked. Here's what it looked like.
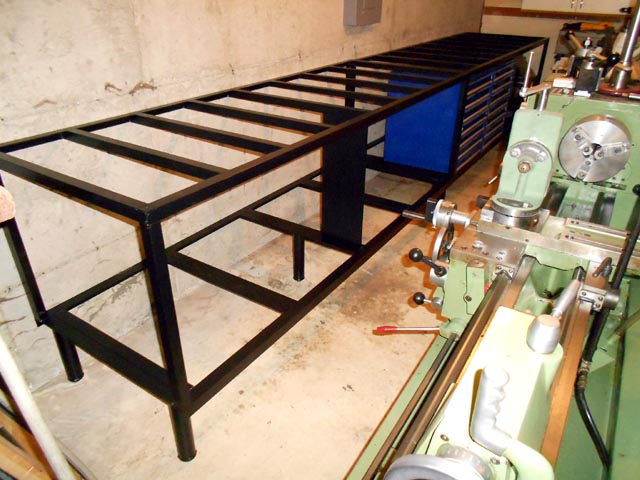
The next step was the final installation. We brought over the bench tops and screwed them on from below. Then I spent some time getting each bench level and the same height so there isn't much of a joint between the tops. Then we put in the drawer units and called it good. Here's a shot of one bench.
and of both benches (kind of hard to photograph, sorry!).
As I write this it's been about 2-1/2 years since the workbenches were installed. During that time the drawers have slowly filled up, and my shop has slowly become less cluttered. Each drawer is now full and most of them are labeled neatly. I haven't found the benchtop height to be a problem. And I really appreciate the clear space underneath! I still plan to install long powerstrips across the fronts, and to get the drawers more organized. I put an old laptop down in my shop on one of the benches so I can make a text file and list the contents of each drawer. That should help with finding things. So, the workbenches are still a work in progress, but they have been enormously beneficial to my shop.
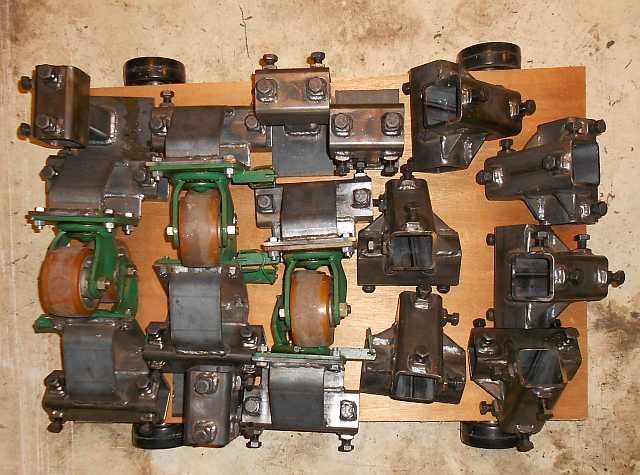
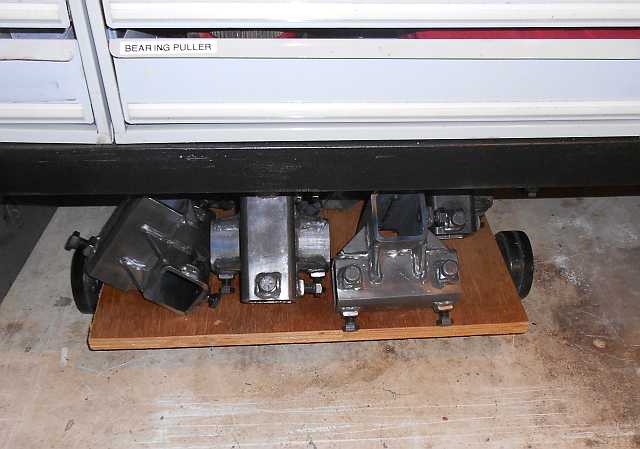
Here is an example of using the space underneath for storage. I'm stealing from another project writeup, but it's just to illustrate the point. On a recent project I was left with a big pile of smallish pieces. Too big to put in a drawer, would have taken several 5 gallon buckets which take up an inordinate amount of valuable floor space, too heavy to put in boxes on shelves. So I made a little part cart and put all the pieces on it.
And now I can just roll them under the bench!
Thanks for reading this.